Under the Radar
With a need to focus on monitoring process quality during the manufacturing process, this laser radar system provides a unique alternative to the shortcomings of the traditional inspection methods.
Posted: March 21, 2015
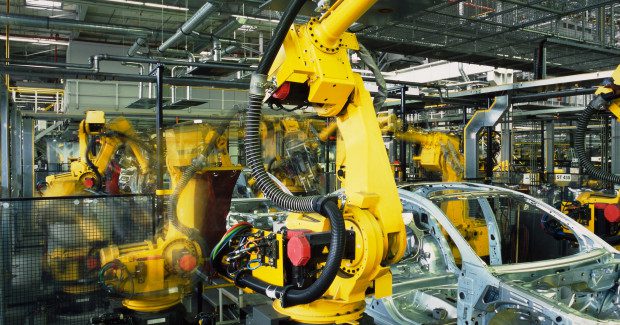
Automotive assembly plants continuously monitor process quality during the manufacturing process. For example, the locations of holes, slots, studs, welding lines and other features must be measured on the vehicles in body in White (biW) assembly. Flush and gap for door or hinge lines need in-depth verification in the Trim and Finish section. All of these inspections ensure that the vehicles are being built within stringent automotive tolerances..
In the past these measurements have primarily been performed by either horizontal arm CMMs offline or on the production line using dozens of sensors individually aimed at each of the features that are to be inspected. Although CMMs provide highly accurate absolute measurements, most require an expensive metrology lab and, for practical purposes, can only be used offline. A large amount of time is required to remove the vehicle from the line, then fixture and align it in the CMM, then perform the time-consuming measurements. At best, two vehicles can be inspected per shift on a traditional CMM. This is a very small sample considering that over 1,000 vehicles can be built each day in a single automotive plant.
Traditional inline systems can have over 100 fixed sensors that are all individually aimed at features on the vehicles. These fixed sensors are demanding to install and maintain and do not provide ‘absolute measurements’ of the features in the car’s coordinate system. They can only detect presence/absence of the features in a local reference frame, making it impossible to do a complete dimensional check on the vehicle. In addition, most assembly lines are now ‘flexible,’ meaning that they can produce more than one type of vehicle. Fixed sensors cannot be used between different vehicles styles because every vehicle requires it’s own custom set of sensors.
INNOVATIVE INLINE INSPECTION
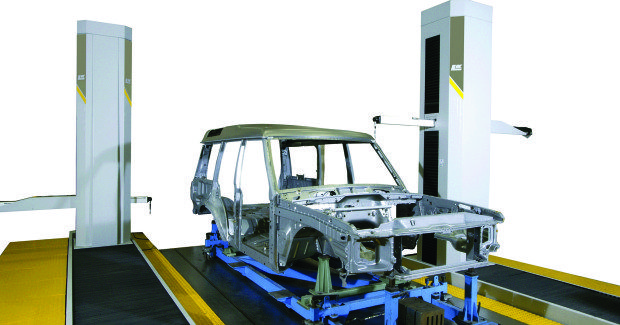
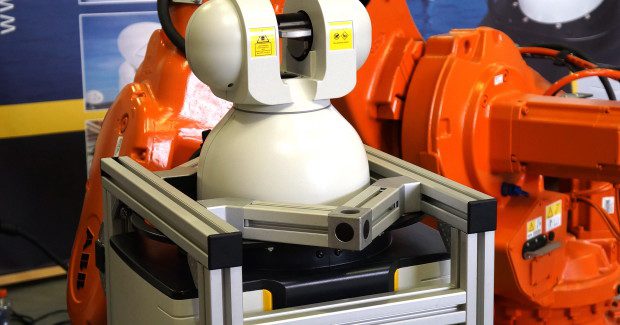
In response to these challenges, innovative multi-sensor inline inspection systems are now replacing traditional line inspection systems. For example, in inline inspection applications the Laser Radar system from Nikon Metrology, Inc. (Brighton, MI) can now be mounted to 6-axis robot arms that are located on each side of the production line. This very robust type of robot is common place in automotive production and can easily handle the payload of the Laser Radar device.
The robots are used to automatically reposition the Laser Radar device so that it can inspect areas that are hidden from the line of sight of a single device location. For example, the door frame or other body panels could be blocking the line-of-sight to some features on the floor pan; repositioning the device to an alternate location will make these features visible one again without the need for multiple sensors. After the robot repositions the device, it automatically measures alignment points on the vehicle or pallet. This occurs each time the robot moves the device, guaranteeing that all measurements are collected in vehicle coordinates and ensuring measurement accuracy is independent of the robots ability to position the device.
In each location the Laser Radar system can measure dozens of features on the vehicle. These measurements are pre-programmed in the inspection software directly from the vehicle’s CAD model. After the initial programming, data collection and reporting is fully automated. Unique inspection scripts can be written for each vehicle style and model being made on the production line, making the Laser Radar inspection station completely flexible. Adding vehicle styles in the future only requires reprogramming of the inspection plan and does not require any physical changes or new hardware.
The interaction of the Laser Radar device, the robot, and the analysis software is fully integrated. The inspections are completely automated and do not require manual intervention during run time, thereby improving both the speed and quality of the measurements over traditional methods.
SYSTEM FEATURES
The Laser Radar device is a programmable contact-less measurement system with an accuracy <0.1 mm over the volume of a car. It can be fully automated and can directly measure holes, studs, bolts and many other features accurately from a large standoff, thereby eliminating the risk of ‘crashing’ into the vehicle. The system measures up to 2,000 points per second, making it suitable to not only measure features, but also to scan surfaces. The ability to offline program the system makes it ideal for inline inspections, as different vehicle models on the same assembly line simply represent new inspection programs.
The Laser Radar system is a proven and reliable precision measurement instrument that is used in aerospace, renewable energy, and automotive applications. It provides a unique alternative to the shortcomings of traditional inspection methods by using a focused laser that is controlled by precision azimuth and elevation drives to automatically perform highly accurate, contact-less measurements.
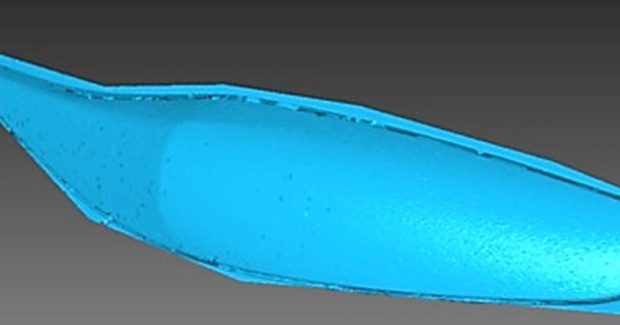
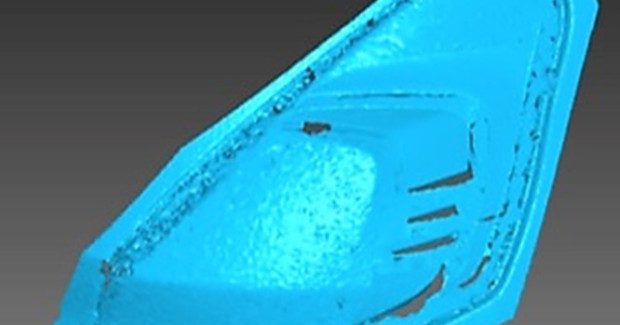
To perform a measurement, the Laser Radar system only needs a fraction of the laser’s signal to be returned, giving it the ability to measure almost any surface, including highly reflective bare body panels as well as shiny painted surfaces and even lights, which are very difficult to measure with typical line scanners. This robust measurement ability means that the system can be used for both BIW and Flush and Gap inspections on finished cars. The system also has a large measurement range (up to 50 m for the Mv350), allowing it to easily measure objects that are the size of cars, trucks, and other large vehicles.
Nikon Metrology offers the broadest range of metrology solutions for applications ranging from miniature electronics to the largest aircrafts, with innovative measuring and precision instruments that contribute to a high performance design-through-manufacturing process that allows manufacturers to deliver premium quality products in a shorter time.
Nikon Metrology Inc., 12701 Grand River Avenue, Brighton, MI 48116, 810-220-4360, www.nikonmetrology.com.


