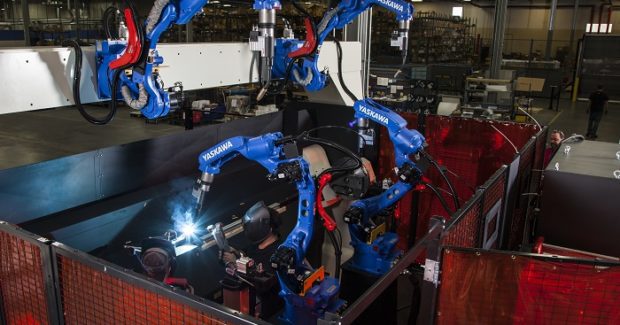
Self-Integrating a Robotic Welding System
To stay competitive, many shops must choose between building a robotic workcell or buying a turnkey system. DIY robotic integration is possible, but certain critical factors should be considered because the end user assumes greater responsibility and acquires more project risk. There is much to know and manage, from process welding requirements and robotic cell design to tooling requirements and system documentation.
Posted: June 28, 2018


The term “turnkey” is often used when purchasing an automation system and typically means that a supplier has full responsibility for the proper functioning of the system being integrated. Similar to hiring a home builder to design and construct a new house, purchasing a turnkey robotic welding system from a supplier can reduce the risk put on the end user. This option, however, is often the most expensive. With robotic welding system integration, there are several choices to consider. The most unconventional option for manufacturers to take is a “general contractor” approach, acquiring more project risk and removing certain responsibilities from the automation system supplier. Likewise, self-integrating a robotic system in this manner can be challenging. However, if an end user installs a robotic welding system correctly, there is enormous potential to experience significant cost-savings.
CRITICAL CONSIDERATIONS
While self-integrating an automation system is possible, certain factors should be considered. From process welding requirements and robotic cell design to tooling requirements and system documentation, there is much to know and manage.
Step 1: Understand and Document the Current Process
Reasons for robotic implementation vary. Whether it is a shortage of skilled workers or a need to increase production rate, a manufacturer should have a keen understanding of the current production environment before moving forward with the decision to buy a robotic weld system. Keeping detailed documentation of the existing production process – including all aspects from cost to quality – is strongly advised.
Step 2: Create a Project Charter
Before the project gets underway, a project charter should be established and routed to company management for approval. The charter should be very specific and include metrics for three legs of the stool: performance, schedule and cost. An example of a project charter would be, “Increase the production rate from 1,200 parts per 8-hour shift to 4,300 parts within 18 weeks at a capital equipment investment of less than $155,000.” Assuming a manufacturer is currently welding the above-mentioned part manually and struggles at finding and retaining qualified welders, the odds of getting the additional labor to meet this goal is slim to none, as the production rate is to be increased by over 259 percent (1,200 to 4,300 parts per shift).
Step 3: Request a Quote
The prior scenario is a good example of a situation where robotic automation is a smart choice, and a potential next step for the end user would be to write a Request for Quote (RFQ) for a turnkey robotic welding system, soliciting proposals from robot suppliers. Assume the manufacturer from the example followed through with writing an RFQ and acquired proposals from multiple suppliers. However, each quote returned greatly exceeded the designated budget of $155K. When quotes (like in this example) come in over budget, tough financial decisions must be made. As a result, some end users decided to self-integrate.
Step 4: Confirm the Weldment can be Robotically Welded
Once an end user makes the decision to move forward with a DIY robotic integration project, the next step is to confirm the weldment can be successfully welded with a robot. The simplest way to do this is to have the robot supplier evaluate the weldment and possibly perform a demonstration. While welders are trained to weld in all positions including weld joints with gaps, welding robots do not like gaps. Ideally, weld joints should be in the flat or horizontal position, if at all possible, for robotic welding, and it is of the utmost importance for manufacturers to pay close attention to the location and quality of weld joints.
Step 5: Determine the Cycle Time
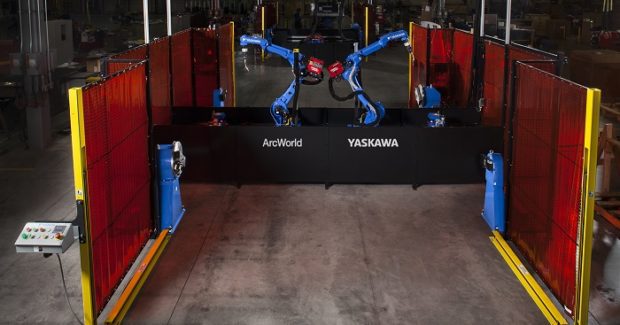
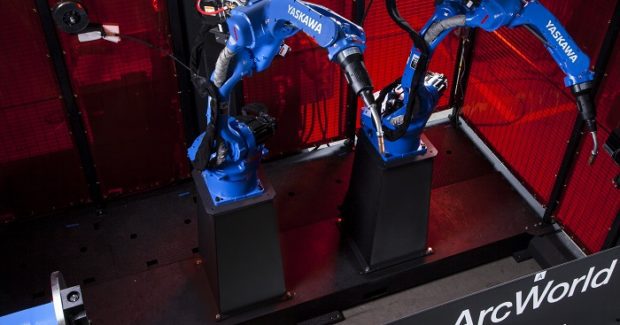
Once the robot supplier has given the “OK” to move forward with implementation of robotics, the cycle time should be determined. Then the robot supplier should be able to assist with this matter as well. In some cases, more than one robot may be required to meet the specified production rate. This can be done either by designing a workcell with two robots or by purchasing two single-robot welding cells.
Step 6: Choose Tooling Option
Today, robot suppliers have pre-engineered standard cells with almost everything a manufacturer needs. When self-integrating, the items typically not included in these pre-engineered solutions are tooling or fixtures to hold a weldment, and any accompanying programming. The cost of operator training and workcell installation are also options to consider. When it comes to outfitting a workcell with the correct tooling, it is a matter of “system turnkey” vs. “hardware turnkey.” Unlike pre-engineered “system turnkey” solutions that include all the tooling, programming, installation, training and run-off from one source on a single purchase order, a “hardware turnkey” system is when a manufacturer purchases a standard cell from a supplier, yet assumes the responsibility and cost to build the necessary tooling (along with any programming, installation, training and run-off needs).
Step 7: Conduct Design Reviews
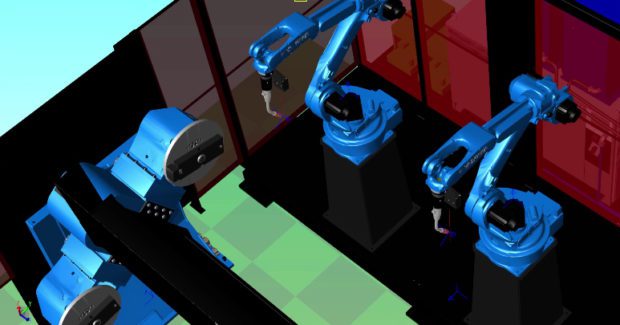
During the tooling design process, the end user is responsible to conduct design reviews to ensure that the tool can be easily loaded and unloaded. Most importantly, the manufacturer will want to make sure that the weld torch (mounted on the end of the robot) can get to the weld joint with the proper torch angles. Designing the tooling in 3D can be very useful, as one can bring in a model of the weld torch to help check the critical weld torch access and angles. Fixturing a part for a manual welding operation vs. robotic welding is quite different. With manual welding, the welder has one hand free that can be used to hold a part while it is tack welded; this cannot be done on a robot due to safety standards. During the robotic welding process, a robotic welding fixture must position and hold the weldment without operator intervention during the welding sequence.
A manufacturer’s decision to self-integrate relieves the robot supplier from these important tooling details, so it is important for end users to assess the requirements needed before taking on the responsibilities of implementing a robotic welding system.
Step 8: Attend Necessary Training
While the robotic workcell and tooling are being built, it is the perfect time for manufacturers to help their employees fulfill any training requirements needed to operate the system. Being equipped to hit the ground running once the weld cell is installed is ideal, and being prepared to troubleshoot unforeseen issues is equally important. The money spent on operator and maintenance training is well worth the investment for manufacturers that choose to self-integrate.
Step 9: Determine Robot Programming
For robot programming, the end user basically has two choices: (1) develop and program the system in house, or (2) contact a robot supplier (or third party) to develop the robot program needed. If an end user is purchasing a robotic weld cell for the first time, it is recommended that the robot supplier is consulted for programming the first part. An experienced programmer can utilize programming “short cuts” to get the system into production as soon as possible, saving time and money.
Step 10: Validate Weld Quality
Once the robot program is complete, parts should be run to confirm weld quality, along with the final dimensions of the part. It is highly likely that a manufacturer will have to shim and adjust the fixture to ensure 100 percent quality regarding dimensions.
For any manufacturer, the crossroads between building a robotic workcell or buying a turnkey system can be difficult, but it is a reality that many shops are having to face to stay competitive. That said, self-integrating a robotic welding system is possible when an end user assumes greater responsibility and acquires more project risk, meeting critical considerations in the process.
Subscribe to learn the latest in manufacturing.

Industry News